Building a simple offline-capable Notepad app using ServiceWorker
Today, We are going to build a progressive Notepad app which can very well be used in offline mode, be responsive on all available devices, and saves the content locally on the device itself.
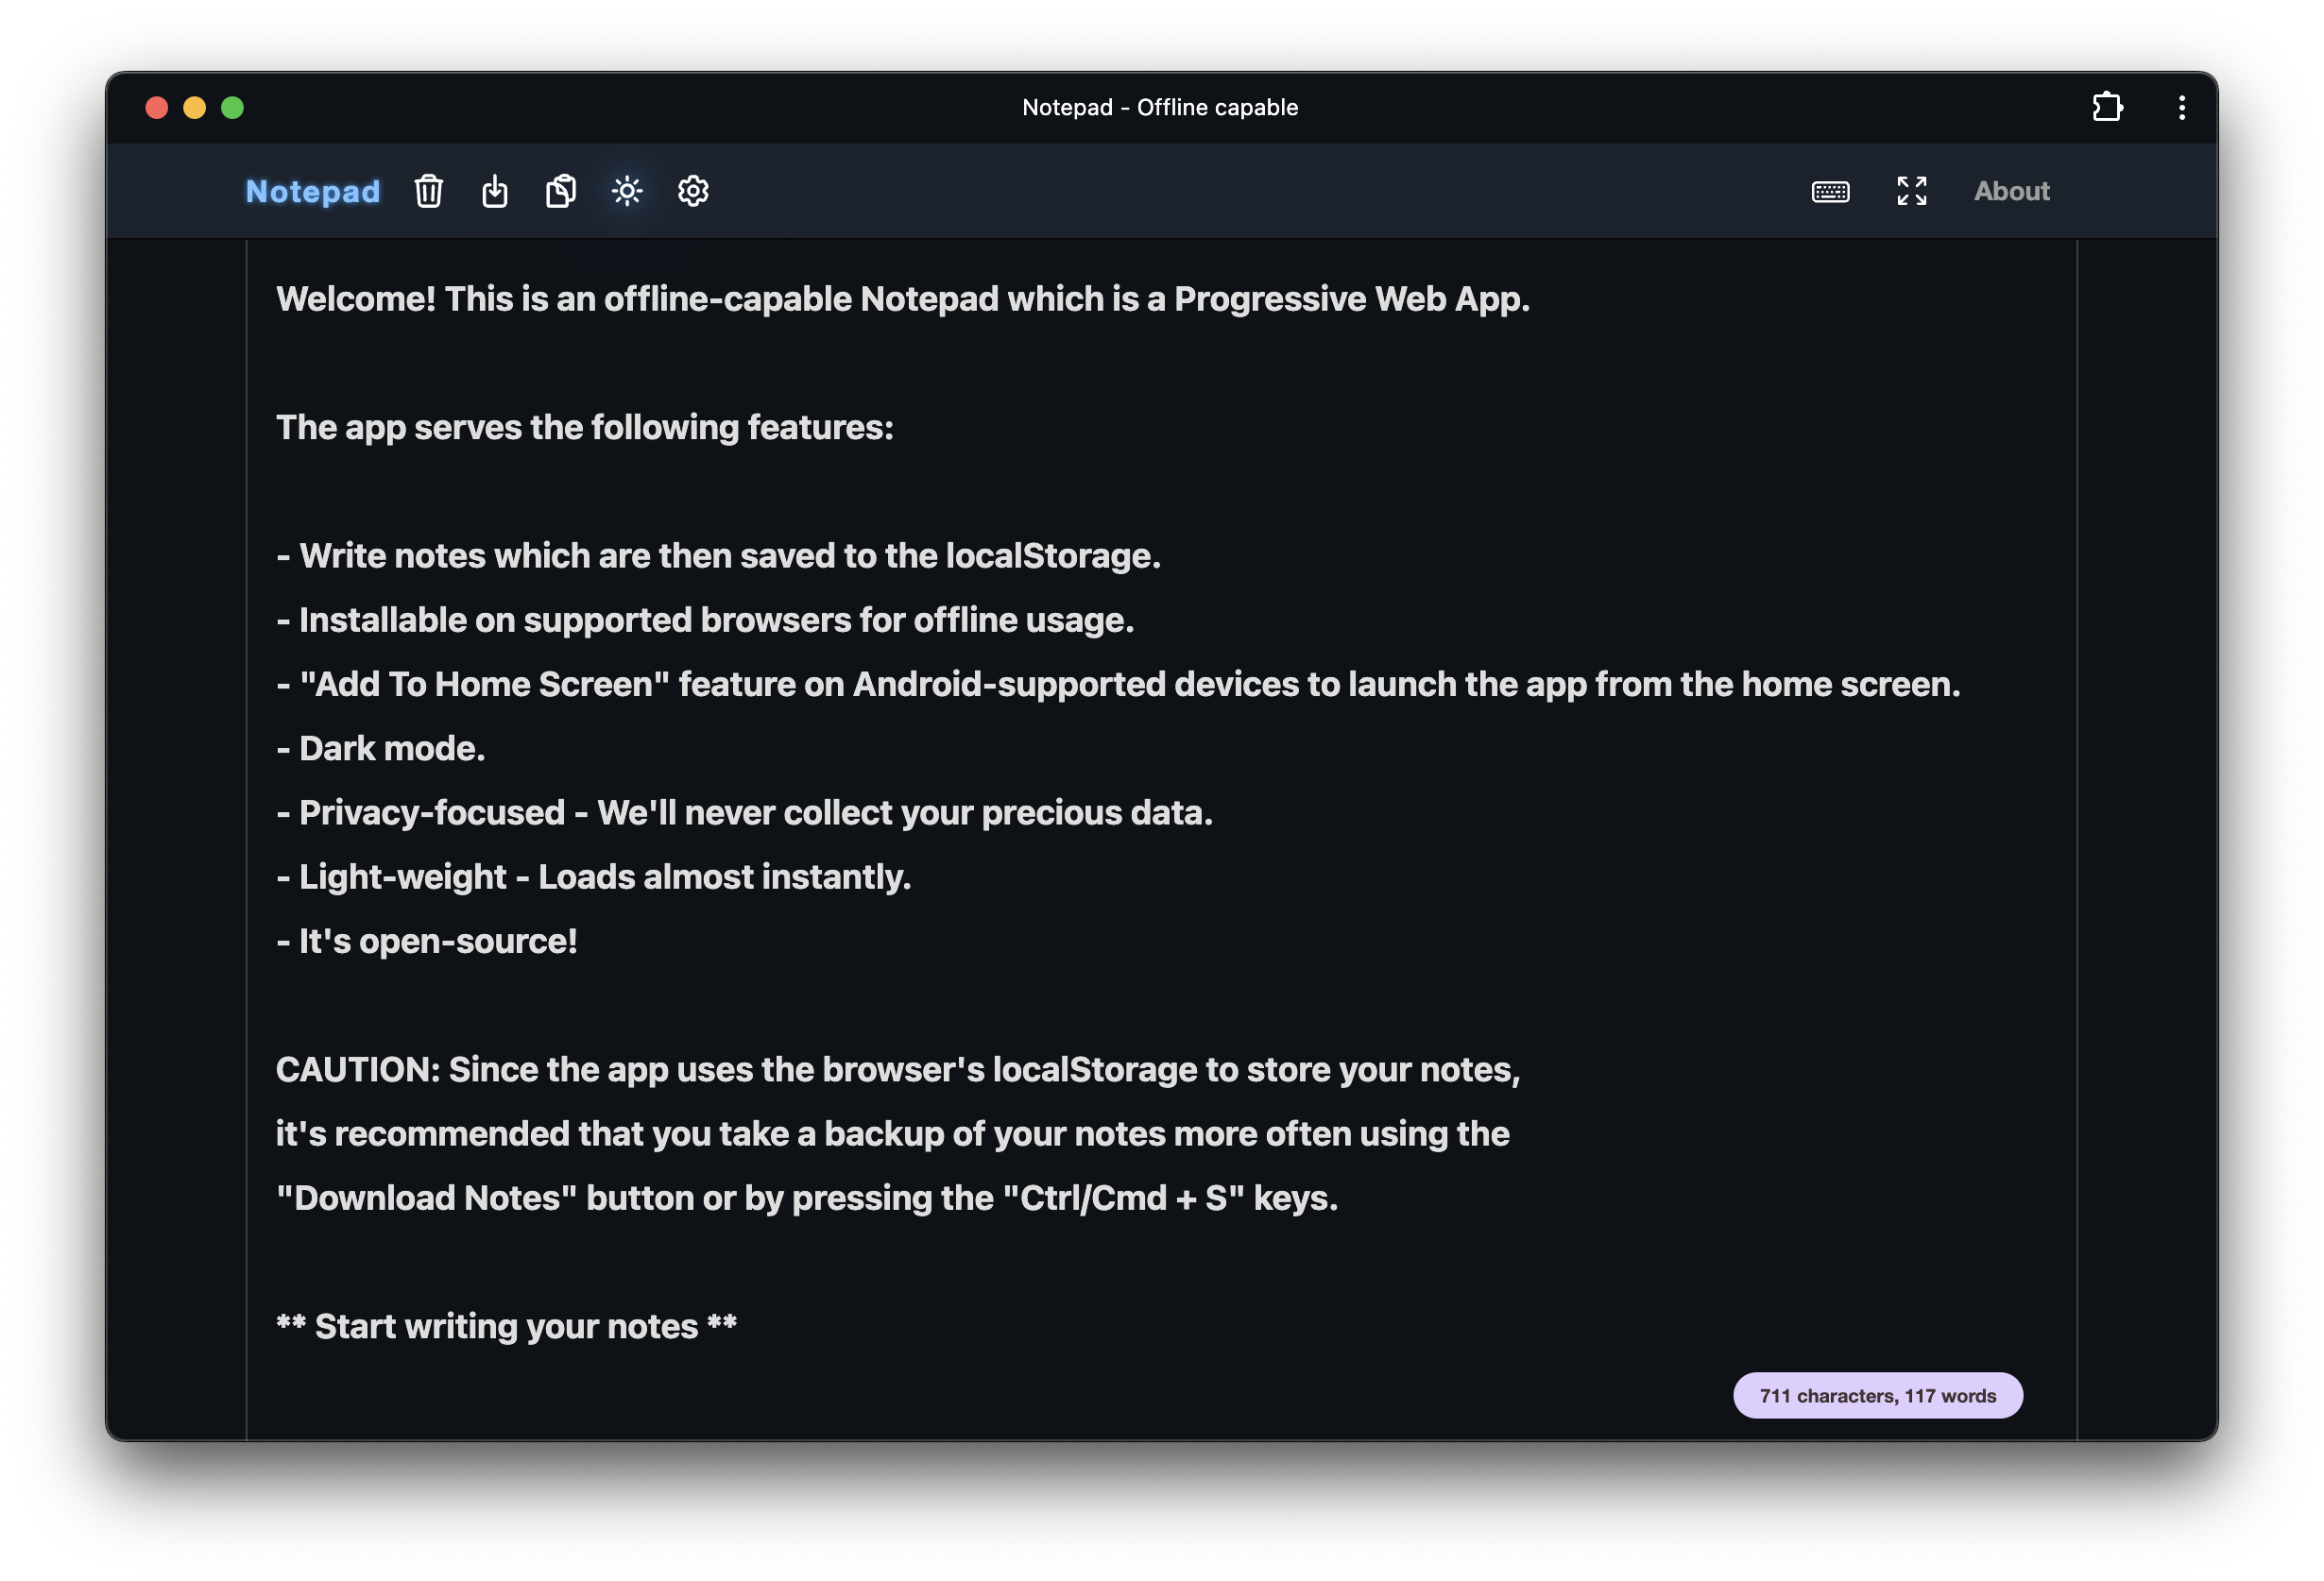
Here’s what the end result will look like.
So, the core functionality of this Notepad here is to make it work offline. To fulfill this requirement, we’ll use ServiceWorkers which I’m going to cover next.
What is a ServiceWorker?
A service worker is a script that runs in the background, separate from your web page. It responds to events, including network requests made from pages it serves. A service worker has an intentionally short lifetime. It wakes up when it gets an event and runs only as long as it needs to process it.
The first and foremost feature ServiceWorkers provides is to give the web app the ability to work offline. Apart from this ServiceWorker also includes features like push notifications and background sync. In the future, ServiceWorker will support other things like periodic sync or geofencing, etc. The core feature discussed in this tutorial is the ability to intercept and handle network requests, including programmatically managing a cache of responses.
What is a Progressive Web App?
A Progressive Web App uses modern web capabilities to deliver an app-like user experience. They evolve from pages in browser tabs to immersive, top-level apps, maintaining the web’s low friction at every moment.
Meaning, a progressive web app should be responsive, connection-independent, app-like, fresh, installable, and so forth. So, to make our Notepad a progressive web app, we need to include all the above features. Let’s get started.
Building the Notepad
Let’s start by creating a folder called Notepad in your favorite local webserver(in my case I have used XAMPP httpster) and add the following files into it:
index.htmlsw.js- This where we’ll write our ServiceWorker logicmanifest.json- The manifest enables your web app to have a more native-like presence on the user’s home screen. It allows the app to be launched in full-screen mode (without a URL bar being present), provides control over the screen orientation, and in recent versions of Chrome on Android supports defining a Splash Screen and theme color for the address bar. It is also used to define a set of icons by size and density used for the aforementioned Splash screen and home screen icon.
Now, the first thing we will do is register a ServiceWorker when our app hits the browser for the first time. For this, create a folder called js in root and add file app.js into it and add the following code in that file.
// Registering ServiceWorker
if ('serviceWorker' in navigator) {
  navigator.serviceWorker.register('sw.js').then(function(registration) {
    // Registration was successful
    console.log(
      'ServiceWorker registration successful with scope: ',
      registration.scope
    );
  }).catch(function(err) {
    // registration failed :(
    console.log('ServiceWorker registration failed: ', err);
  });
}
The above code will try to check if the current browser supports ServiceWorker and if yes, it will register one. Notice, we have passed a file called sw.js in the register function which we haven’t created yet.
Create a file called sw.js in the root and add the following content to it.
importScripts('js/cache-polyfill.js');

var CACHE_VERSION = 'app-v1';

self.addEventListener('install', function (event) {
    event.waitUntil(
        caches.open(CACHE_VERSION)
            .then(function (cache) {
                console.log('Opened cache');
                return cache.addAll(CACHE_FILES);
            })
    );
});

self.addEventListener('fetch', function (event) {
    event.respondWith(
        caches.match(event.request).then(function(res){
            if(res){
                return res;
            }
            requestBackend(event);
        })
    )
});

function requestBackend(event){
    var url = event.request.clone();
    return fetch(url).then(function(res){
        //if not a valid response send the error
        if(!res || res.status !== 200 || res.type !== 'basic'){
            return res;
        }

        var response = res.clone();

        caches.open(CACHE_VERSION).then(function(cache){
            cache.put(event.request, response);
        });

        return res;
    })
}

self.addEventListener('activate', function (event) {
    event.waitUntil(
        caches.keys().then(function(keys){
            return Promise.all(keys.map(function(key, i){
                if(key !== CACHE_VERSION){
                    return caches.delete(keys[i]);
                }
            }))
        })
    )
});
Notice, If you want to import any external script in the Service Worker, you can do it using importScripts(). In this example, we’ll be using the cache-polyfill since the support for the cache is limited.
Now, We need to cache all files that we want to be cached the first time ServiceWorker registered. In order to do this, we’ll add the following content after var CACHE_VERSION = 'app-v10'; line:
var CACHE_FILES = [
    '/',
    'index.html',
    'js/app.js',
    'css/style.css',
    'favicon.ico',
    'manifest.json'
];
All these files will get cached for offline use. Here you can see we call caches.open() with our desired cache name(which in our case is CACHE_VERSION ), after which we call cache.addAll() and pass in our array of files i.e CACHE_FILES.
Next, we’ll add the following content into the file manifest.json.
{
  "short_name": "Notepad",
  "name": "Notepad",
  "display": "standalone",
  "icons": [
    {
      "src": "img/icon-48.png",
      "sizes": "48x48",
      "type": "image/png"
    },
    {
      "src": "img/icon-96.png",
      "sizes": "96x96",
      "type": "image/png"
    },
    {
      "src": "img/icon-144.png",
      "sizes": "144x144",
      "type": "image/png"
    },
    {
      "src": "img/icon-196.png",
      "sizes": "196x196",
      "type": "image/png"
    }
  ],
  "start_url": "index.html",
  "theme_color": "#9b59b6",
  "background_color": "#EEEEEE"
}
You can see here, we have provided our application name in short_name, the default orientation for application is standalone and we have also provided different sized icons of our application which you can get from here.
Let’s now move to the index.html and add following content:
<html>
<head>
<title>Notepad - Offline capable</title>
<meta http-equiv="X-UA-Compatible" content="IE=edge">
<meta name="viewport" content="width=device-width, initial-scale=1">
<meta name="theme-color" content="#9b59b6">
<meta name="description" content="An offline capable notepad powered by ServiceWorker">
<meta name="keywords" content="note,offline,mobile,web,notepad" />
<meta name="author" content="Amit Merchant">
<meta name="application-name" content="Notepad" />
<link href="css/bootstrap.min.css" rel="stylesheet">
<link href="css/style.css" rel="stylesheet">
<link rel="icon" href="favicon.ico">
<link rel="manifest" href="manifest.json">
</head>
<body>
<nav class="navbar-default navbar-inverse navbar-fixed-top">
<div class="container">
<div class="navbar-header">
<button type="button" class="navbar-toggle collapsed" data-toggle="collapse" data-target="#navbar" aria-expanded="false" aria-controls="navbar">
<span class="sr-only">Toggle navigation</span>
<span class="icon-bar"></span>
<span class="icon-bar"></span>
<span class="icon-bar"></span>
</button>
<a class="navbar-brand" href="#">Notepad - Offline capable</a>
</div>
<div id="navbar" class="collapse navbar-collapse">
<ul class="nav navbar-nav">
<li><a href="#about" data-toggle="modal" data-target="#myModal">About</a></li>
</ul>
</div>
</div>
</nav>
<div class="container">
<div class="starter-template">
<textarea id="note" placeholder="Type your notes here and when you come back all your notes will be right here..."></textarea>
</div>
</div>
<div id="myModal" class="modal fade" role="dialog">
<div class="modal-dialog">
<!-- Modal content-->
<div class="modal-content">
<div class="modal-header">
<button type="button" class="close" data-dismiss="modal">×</button>
<h4 class="modal-title">Notepad - Offline capable</h4>
</div>
<div class="modal-body">
<p>An offline capable notepad powered by ServiceWorker</p>
<a href="https://github.com/amitmerchant1990/notepad" target="_blank">Go to the repository</a>
</div>
<div class="modal-footer">
<button type="button" class="btn btn-default" data-dismiss="modal">Close</button>
</div>
</div>
</div>
</div>
<script src="js/jquery.min.js"></script>
<script src="js/bootstrap.min.js"></script>
<script src="js/app.js"></script>
</body>
</html>
So, as you can see here we have taken a textarea and have given it id=note which we will use to keep track of the onKeyUp event of textarea. For this, purpose we’ll use jQuery. Let’s also note here that, to make the app responsive on all devices, we have used Bootstrap. You can I have included all of the necessary files in index.html. You can get all the necessary files from here and here and add them to the relevant folders. I have also included file style.css which will make some necessary changes on the page to make it responsive.
Now, again move to the file js/app.js and add the following content:
// Commented out for brevity

$(document).ready(function(){
  $('#note').bind('input propertychange', function(){
    localStorage.setItem("note", $(this).val());
  });

  if (
    localStorage.getItem("note")
    && localStorage.getItem("note")!=''
  ){
    var noteItem = localStorage.getItem("note")
    $('#note').val(noteItem);
  }
});
As you can see, we have bind the textarea’s propertychange event so that it will get the text while the user types and it to the `localStorage
if (
  localStorage.getItem("note")
  && localStorage.getItem("note") != ''
){
  var noteItem = localStorage.getItem("note")
  $('#note').val(noteItem);
}
The above code will check if there’s anything in the localStorage and if found will fill the textarea with the available content when the next time user visits the website.
Lastly, move to the sw.js file once again and add all the remaining files into CACHE_FILES.
var CACHE_FILES = [
    '/',
    'index.html',
    'js/app.js',
    'js/jquery.min.js',
    'js/bootstrap.min.js',
    'css/bootstrap.min.css',
    'css/style.css',
    'manifest.json',
    'img/icon-48.png',
    'img/icon-96.png',
    'img/icon-144.png',
    'img/icon-196.png'
];
Putting all the above bits and pieces in the correct place, our Notepad app is now ready to be used offline. Head over to the http://localhost or relevant local webserver URL and check the final app.
You can check the whole codebase or checkout the demo.
Further reading
- Add app screenshots to the install prompt of PWAs
- Check if a PWA is opened as a standalone app or not
- Adding a custom Install button in Progressive Web Apps
- TIL - How to fix embedded scripts in Progressive Web Apps
- Chrome 73 now supports installing PWAs as a native app on macOS
Also, check this sleek roadmap out to visualise where do the PWAs fit in today’s fronend landscape.

👋 Hi there! This is Amit, again. I write articles about all things web development. If you enjoy my work (the articles, the open-source projects, my general demeanour... anything really), consider leaving a tip & supporting the site. Your support is incredibly appreciated!