Expose your local websites to the internet using this open source tool in PHP
Recently, I’ve been working on a Laravel app and one of my friends wanted to see it in action who’s sitting seven ocean apart. But, I didn’t have an actual server to host it and to make it accessible for my friend. And so, I was looking for a tool/API which can expose my local website instance to the internet.
This is where I came across this tool called Expose by the company called Beyond Code. The tool lets you share your local websites with others via the internet. It does this by exposing local servers behind NATs and firewalls to the public internet over secure tunnels.
The tool is entirely written in PHP. It aims to serve as an open-source and free alternative to a similar service called ngrok which is a paid one.
In this article, you’ll learn how you can expose any local instance of your website to the internet in a matter of few seconds. Let’s start by installing it first.
Installing Expose
Expose can be installed using composer. You can install expose globally using the following command.
$ composer global require beyondcode/expose
Setting the auth token
Now, before you share your first site to the internet, you’ll need to grab a free auth token by creating an account on https://beyondco.de.
Once the account is created, move to https://beyondco.de/licenses/expose where you’ll find your free token in the “My auth token” section. Grab that and set it using the following command.
$ expose token [your auth token]
Once added, you’re now ready to expose your first site to the internet.
Exposing the local site to the internet
To share your local instance, all you have to do is using the following command like so.
$ expose share [URL of your local instance]
In my case, I’ve started my Laravel app on the http://127.0.0.1:4000, so I’ve replaced it like so.
expose share http://127.0.0.1:8000
And voila! I got my application running perfectly fine on a random URL created by Expose as seen under “Expose-URL: https://slffv5eck0.sharedwithexpose.com”.
You can now share this URL with whoever you want to show this app out on the internet as long as your local server is running in your machine!
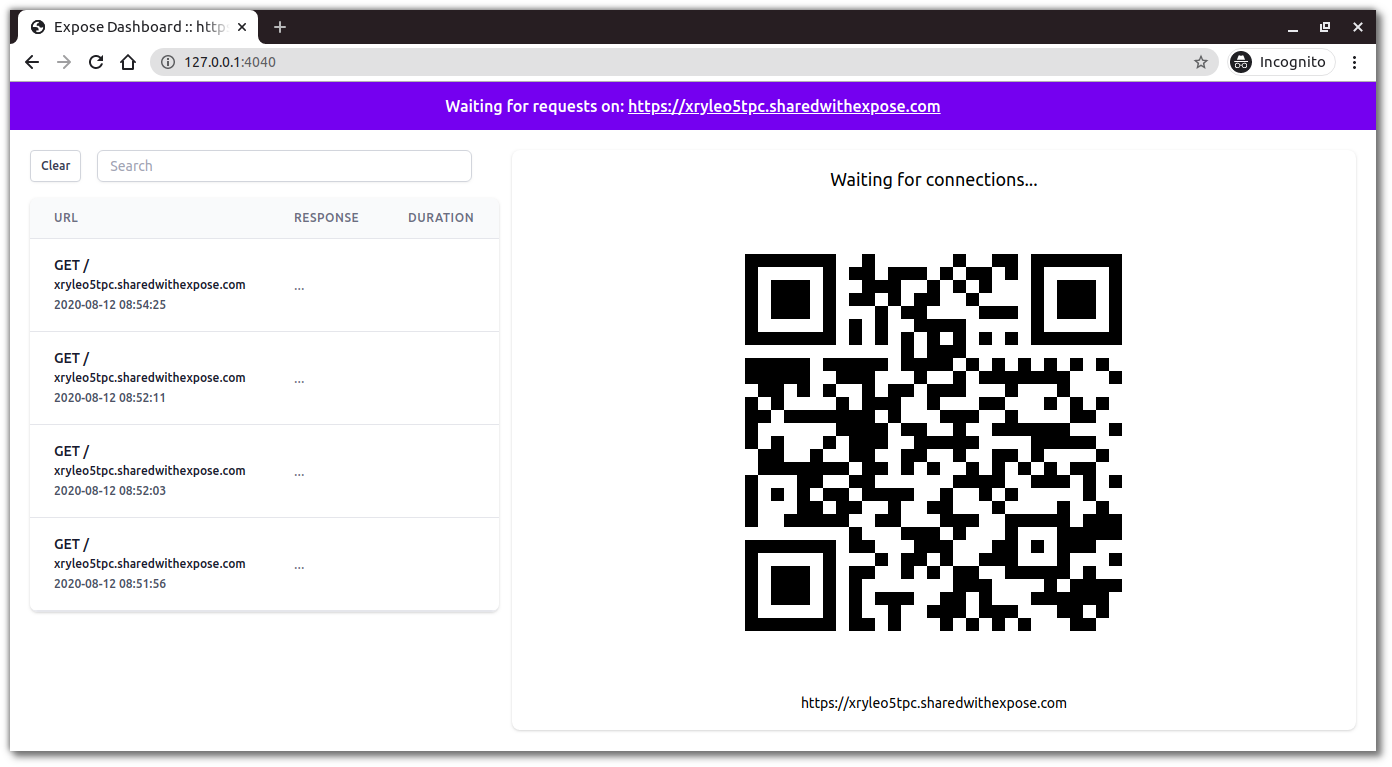
In addition to this, Expose will also spin up a dashboard for us where you can see all the requests to the site in real-time and a QR code to the website if you want to access your site on the mobile as well. This pretty handy if you ask me!
Using a custom subdomain
By default, Expose will generate a random subdomain for the URL but you can also set a unique subdomain for your website by appending a --subdomain parameter to the command like so.
$ expose share http://127.0.0.1:4000 --subdomain=bullredeyes
This will spin up a URL with the provided subdomain (if it’s not already taken) like so.
Using basic auth
You can also set up a basic auth if you only want it to be accessed by someone who has username and password. To do this, you’d need to pass in a --auth like so.
expose share http://127.0.0.1:4000 --auth="admin:secret"
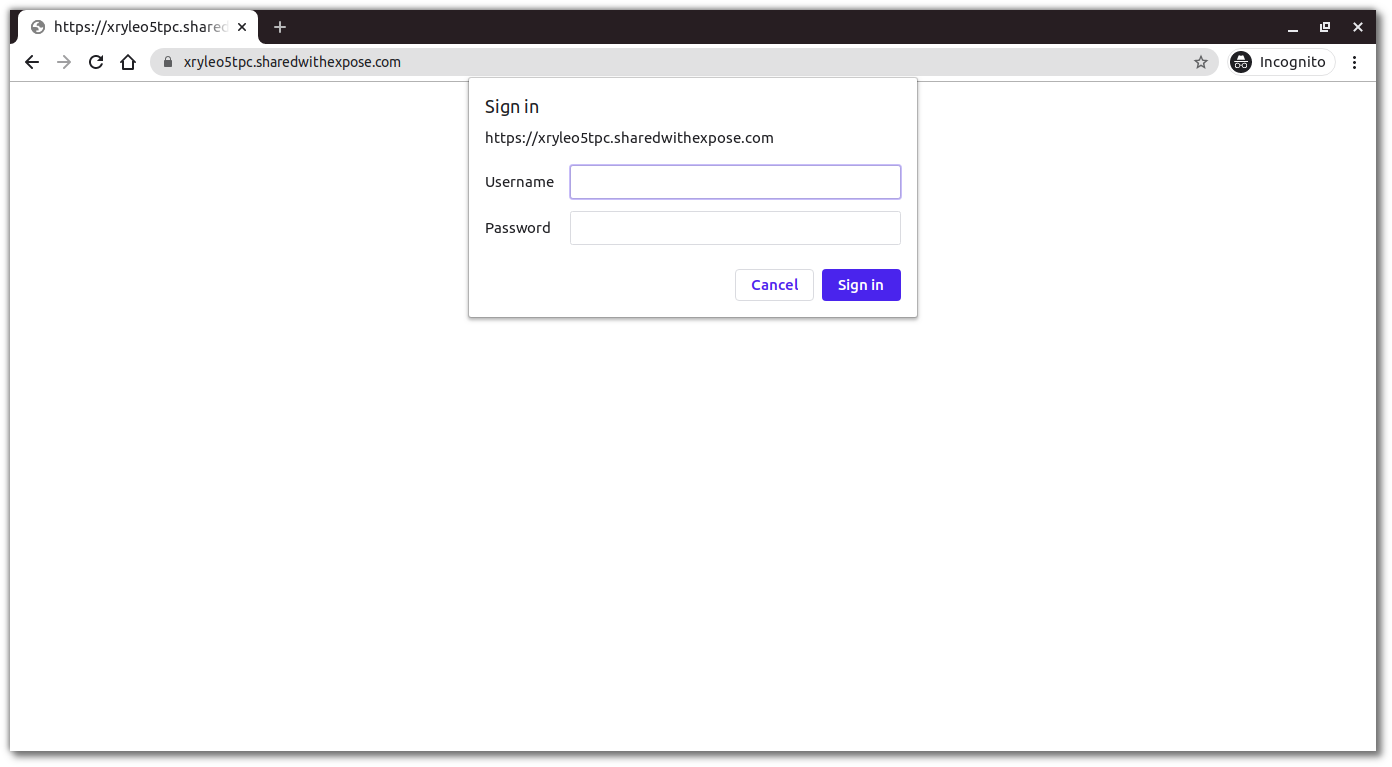
Here, “admin” is the username and “secret” is the password. This will present an auth popup every time someone access this site like so.
In closing
This was just a rough overview of what you can do with Expose. But there are a lot of other things that you can do with it such as using custom domains, SSL support, custom views, and so many other things. As it’s an open-source software, you can host your own Expose instance on your server as well if you want to make use of your own domain
You can learn more about it at its official website.
👋 Hi there! This is Amit, again. I write articles about all things web development. If you enjoy my work (the articles, the open-source projects, my general demeanour... anything really), consider leaving a tip & supporting the site. Your support is incredibly appreciated!


