Simple and lightweight scaffolding using Breeze in Laravel 8
When Laravel 8 released, It came with a lot of new features & improvements but along with it, the Laravel team has also introduced Jetstream for application scaffolding which comes with all the bells and whistles in-built such as login, registration, email verification, two-factor authentication, session management, API support via Laravel Sanctum, and optional team management.
It’s kinds of sweet that the framework itself provides all these features out-of-the-box. But here’s the thing. Many developers didn’t like this at all and criticized the Laravel team a lot for it. People didn’t like it because, under the hood, Jetstream enforced the use of Livewire or Inertia for scaffolding and many developers didn’t like this. Why? Because people didn’t want to learn a new framework/stack just to try out Laravel 8.
There was a growing need to have something really simple that just works. Laravel team responded to all the hate and criticism and then hence Laravel Breeze came into existence!
So, What is Breeze?
Breeze is the official package from the Laravel team that can be used to create a minimal and simple scaffolding with authentication, just like it was used to be in Pre Laravel 8 era. There’s no enforcement to use Livewire, Inertia, or anything else.
Laravel Breeze is powered by Blade and Tailwind. It publishes authentication controllers and views to your application that can be easily customized based on your own application’s needs. So, no hair-pulling in tracking those in Fortify and other unknown places.
Installing Breeze
Installing Breeze in your fresh Laravel application is as easy as installing a new Composer dependency.
First, create a new Laravel app.
$ laravel new my-app

$ cd my-app
Then require Breeze as development dependency and install the scaffolding like so.
$ composer require laravel/breeze --dev

$ php artisan breeze:install
On the successful installation, your terminal would look like the following.
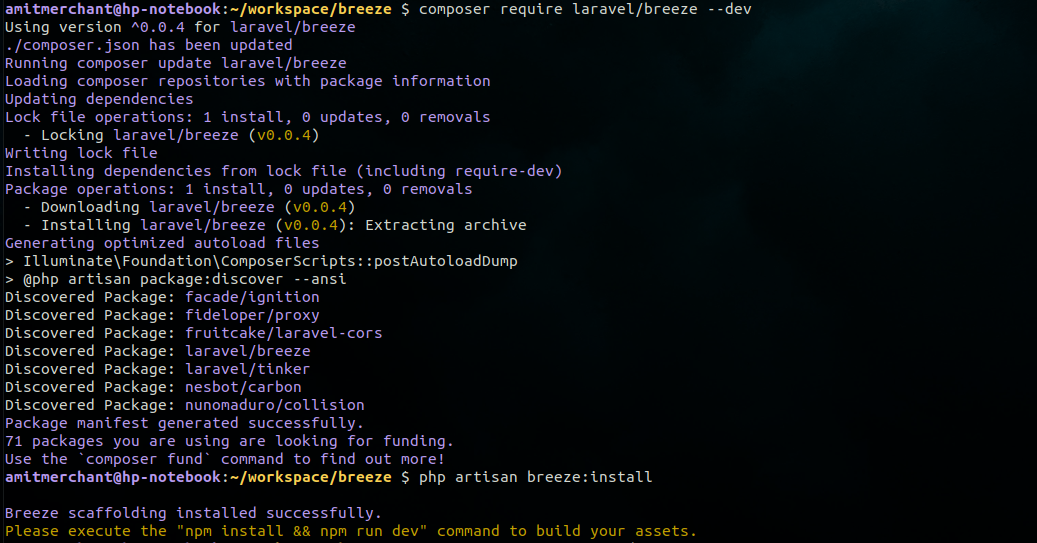
As you can tell from the screenshot, the next step is to run npm install && npm run dev to build assets of your Laravel application.
Once done, you can migrate the database by running php artisan migrate which will create necessary tables for authentication such as users, password_resets, and so on in the application’s database.
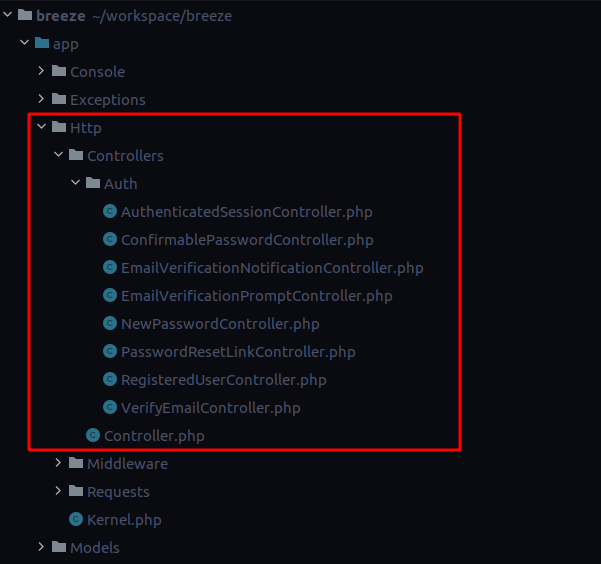
Also, you can find all the controllers created during scaffolding under app/Http/Controllers/Auth for further customizations which is, of course, the USP of Breeze. 😉
And that’s about it! The Breeze should be installed in your Laravel application successfully now.
Running Breeze Application
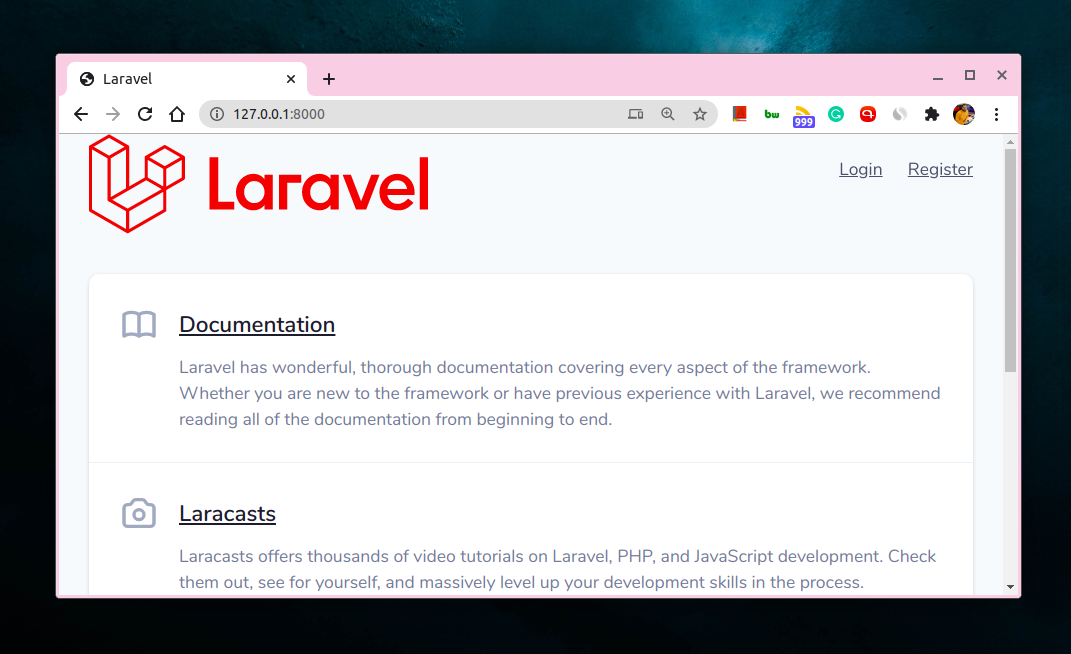
You can now run the application by running php artisan serve and you can access the application at http://127.0.0.1:8000 which should look like this.
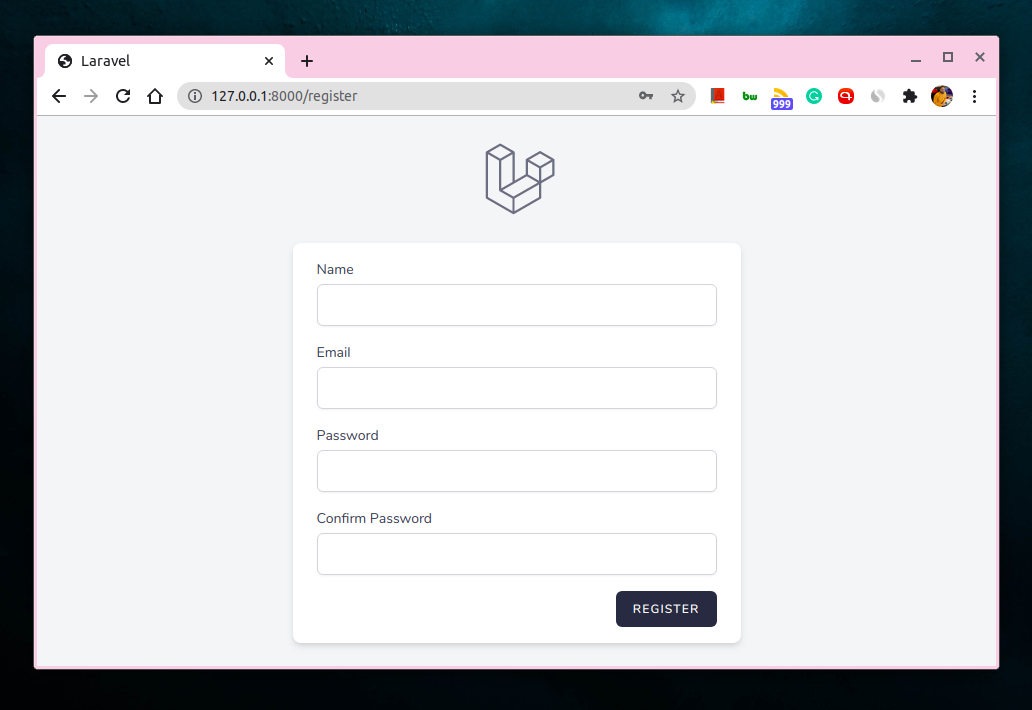
The register screen
The user dashboard
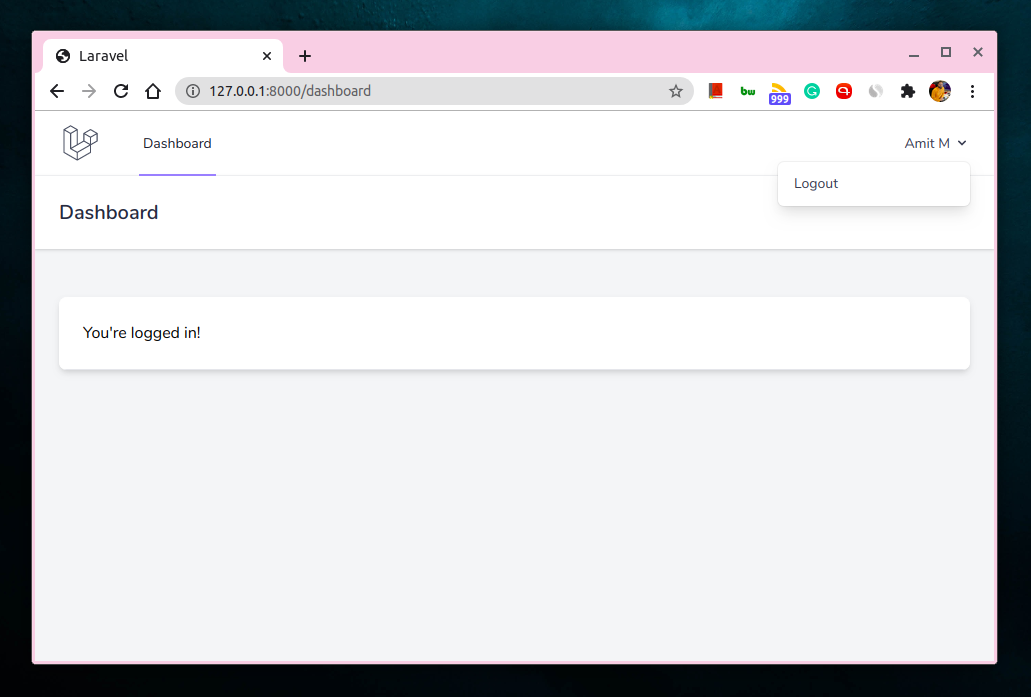
It’s that simple and to the point just how everyone wanted it.
…And that was your first look at Laravel Breeze!


👋 Hi there! This is Amit, again. I write articles about all things web development. If you enjoy my work (the articles, the open-source projects, my general demeanour... anything really), consider leaving a tip & supporting the site. Your support is incredibly appreciated!