Magically add animations to your web apps with AutoAnimate
I was watching this video on Laracasts where Jeffery was reviewing an open-source animation tool called AutoAnimate that can be used to add animations to your web apps.
It’s not just another animation tool. It magically adds animations to the boring-looking interactions on your web apps. And it just works without you doing anything manually apart from installing the library and importing it into your app.
As Jeffery was explaining the tool, something struck and I already knew where I needed to use this tool.
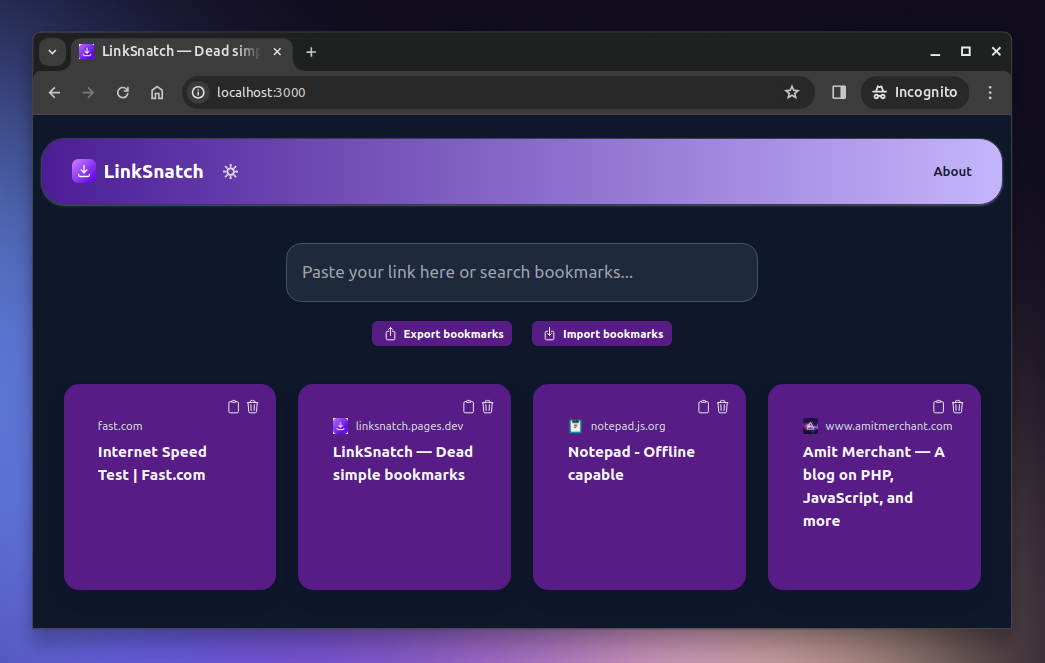
Essentially, one of my Next.js-based apps LinkSnatch allows you to save links on your device. The interface is pretty simple.
There’s a text input where you can paste the URL you want to bookmark. The app will then extract the metadata of the URL and save it to the browser’s local storage and then show all the saved links in a grid layout.
Something like this.
Now, the problem with this is that when someone saves a link, there’s no visual indication (apart from the toast) of the link being added to the grid. The grid just blandly updates itself.
The same goes for when someone deletes a link. There’s no visual indication of the link being deleted from the grid.
So, I thought this would be a perfect use case for AutoAnimate to sprinkle some animations to the application.
I first installed the library using NPM.
npm install @formkit/auto-animate --save
Then, I imported the useAutoAnimate hook in the src/components/Links.jsx component which is responsible for rendering the grid of links.
import { useAutoAnimate } from '@formkit/auto-animate/react'
Now, to make AutoAnimate work “automagically”, all you need to do is to use the ref returned by this hook and apply it to the parent element of the elements you want to animate.
Here’s how it looks like.
import { useAutoAnimate } from '@formkit/auto-animate/react'

export function Links({
    links,
    deleteLink
}) {
    const [parent, enableAnimations] = useAutoAnimate()

    return (
        <>
            <div ref={parent}>
                {links.slice(0).reverse().map((link, index) => (
                    <LinkContainer key={link.id} link={link} deleteLink={deleteLink} />
                ))}
            </div>
        </>
    )
}
As you can tell, I’ve applied the parent ref to the parent element of the links where all the links are rendered.
Note: To make the animations work as expected, it’s very important that the
keyshould be a unique value. So, please keep that in mind.
And that’s pretty much it. Now, when I add a link, it stacks up on the grid with a nice animation and when I delete a link, it fades out with a nice animation which is something I have always wanted to implement but never got around to doing.
Fortunately, with AutoAnimate, it was a cake walk, to say the least.
Here’s what it looks like with the animations.
The interaction now look so much better and intuitive. It’s unreal how seamless it is to add animations to your web apps with barely any effort.
You can check out the source code of LinkSnatch to see how I’ve implemented it.
Also, check out AutoAnimate for further details.

👋 Hi there! This is Amit, again. I write articles about all things web development. If you enjoy my work (the articles, the open-source projects, my general demeanour... anything really), consider leaving a tip & supporting the site. Your support is incredibly appreciated!